


Reviews
Customer Images


Kris
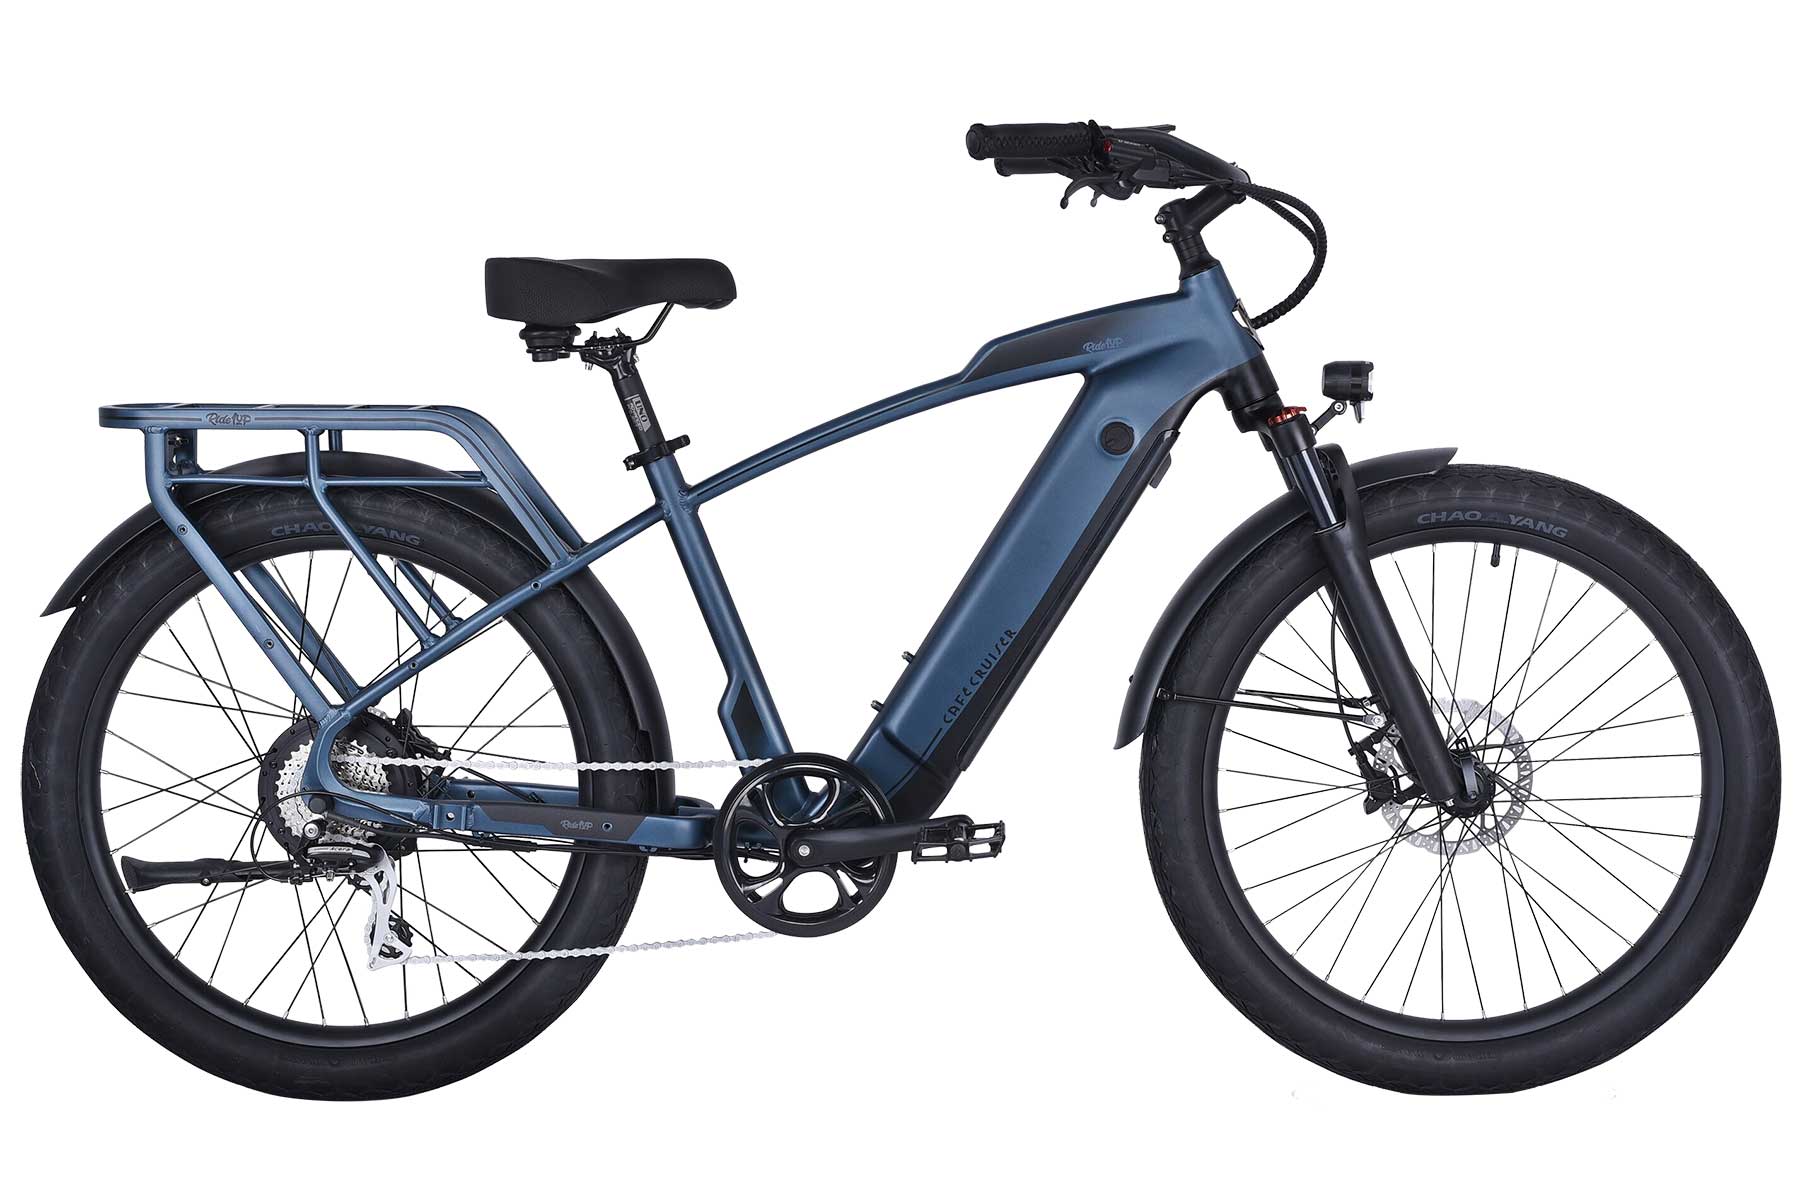
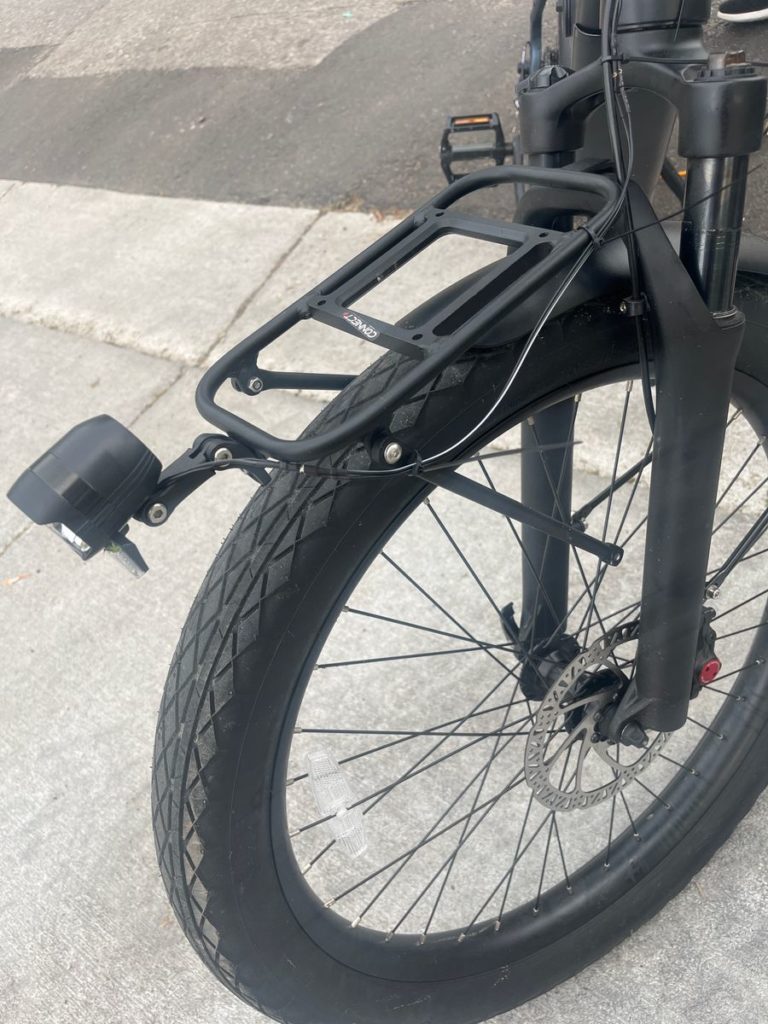
This rack is sturdy and should be easy to install on a "compatible" ebike. If I had one of those bikes I would probably have given it 4 or 5 stars. I have a Turris, but customer service said the rack would work with two minor changes: 1. Order an extension for the headlight power cord. Open the upper part of the battery compartment to access the controller and install the extension. 2. Bend the mounting tab on the rack so it tilts upwards and has enough clearance that the Connect+ bracket doesn't hit the fender. I decided to try it. With the rack unbent and the legs pushed up as high as possible on the fork the basket tilted backwards about 9 degrees. If I had to guess I'd say this rack is made of an aluminum alloy, and those usually can't be bent very many times before breaking. So that, combined with not wanting to tilt the basket even further, prompted me to make my own adapter bracket. Luckily I had a piece of scrap aluminim with two holes of exactly the right size that were about the right distance apart. I sawed off the excess to make an ugly but totally functional bracket. Now there's plenty of clearance between the fender and rack, and luckily the makeshift bracket barely clears the front of the top of the fork when the suspension is fully compressed. The clamps that come with the rack for attaching it to the legs of the fork are not the right size for the Turris. The included shims are far too thick but with no shims the clamps slide up and down. I had to cut my own shims from an old inner tube and, since I'm a bit of a perfectionist, attached them to the insides of the clamps with vulcanizing cement from a patch kit. The headlight extension cable is still in the mail. Having read the Turris controller access page on the Ride1up support site I expect the installation to be a little tedious but easy overall. (Those complaining about tearing their headlight cable or having to splice it would benefit from reading the controller access info for their bike. There IS a connector in there where you can insert an extension and if you just need a bit more slack re-arranging the cables in there might do it.) Now that it's installed I can lift the front of the bike by the rack and there's no wobble when I shake it. Considering the weight of the Turris and that front racks are usually light weight, I think that speaks pretty highly of this rack. I was told to expect some installation difficulty but it ended up being more difficult than expected. It turned out really well and I'm quite happy with it but after having to make my own adapter bracket to fit the Turris I just can't give this rack more than two stars.
Kris
This rack is sturdy and should be easy to install on a "compatible" ebike. If I had one of those bikes I would probably have given it 4 or 5 stars. I have a Turris, but customer service said the rack would work with two minor changes: 1. Order an extension for the headlight power cord. Open the upper part of the battery compartment to access the controller and install the extension. 2. Bend the mounting tab on the rack so it tilts upwards and has enough clearance that the Connect+ bracket doesn't hit the fender. I decided to try it. With the rack unbent and the legs pushed up as high as possible on the fork the basket tilted backwards about 9 degrees. If I had to guess I'd say this rack is made of an aluminum alloy, and those usually can't be bent very many times before breaking. So that, combined with not wanting to tilt the basket even further, prompted me to make my own adapter bracket. Luckily I had a piece of scrap aluminim with two holes of exactly the right size that were about the right distance apart. I sawed off the excess to make an ugly but totally functional bracket. Now there's plenty of clearance between the fender and rack, and luckily the makeshift bracket barely clears the front of the top of the fork when the suspension is fully compressed. The clamps that come with the rack for attaching it to the legs of the fork are not the right size for the Turris. The included shims are far too thick but with no shims the clamps slide up and down. I had to cut my own shims from an old inner tube and, since I'm a bit of a perfectionist, attached them to the insides of the clamps with vulcanizing cement from a patch kit. The headlight extension cable is still in the mail. Having read the Turris controller access page on the Ride1up support site I expect the installation to be a little tedious but easy overall. (Those complaining about tearing their headlight cable or having to splice it would benefit from reading the controller access info for their bike. There IS a connector in there where you can insert an extension and if you just need a bit more slack re-arranging the cables in there might do it.) Now that it's installed I can lift the front of the bike by the rack and there's no wobble when I shake it. Considering the weight of the Turris and that front racks are usually light weight, I think that speaks pretty highly of this rack. I was told to expect some installation difficulty but it ended up being more difficult than expected. It turned out really well and I'm quite happy with it but after having to make my own adapter bracket to fit the Turris I just can't give this rack more than two stars.
Paul
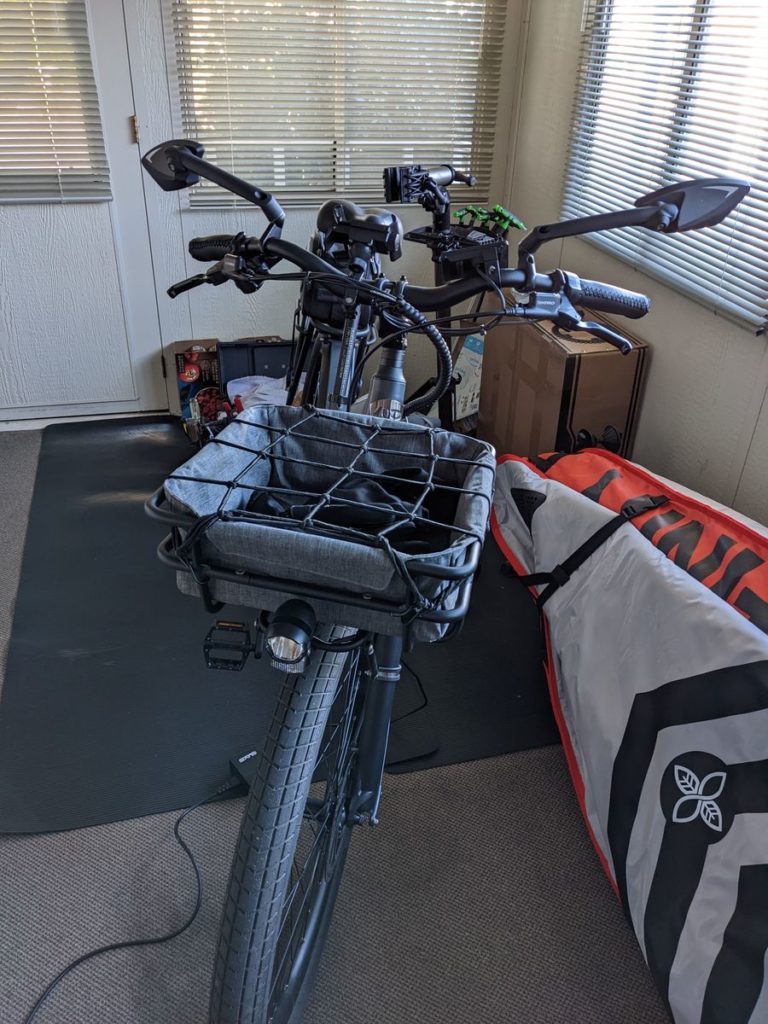
Id say if your an experienced mechanic with a good set of tools it's moderately easy to install only because the rubber clamp things are a pain. I ended having to use needle nose pliers on side side to clamp it while trying to put the screw through and the nut on. I think if the bolts were 5mm longer they would be easier to put on. That's the only downside, I wrestled with those clamps for a good hour. Its really sturdy and I custom mounted a pet carrier to it. My dog weighs about 15lbs and the bike rides great with this setup. Nice design, just needs a little work on the hardware side to make the install smoother.
Paul
Id say if your an experienced mechanic with a good set of tools it's moderately easy to install only because the rubber clamp things are a pain. I ended having to use needle nose pliers on side side to clamp it while trying to put the screw through and the nut on. I think if the bolts were 5mm longer they would be easier to put on. That's the only downside, I wrestled with those clamps for a good hour. Its really sturdy and I custom mounted a pet carrier to it. My dog weighs about 15lbs and the bike rides great with this setup. Nice design, just needs a little work on the hardware side to make the install smoother.
HILARY K.
Awful design, took 3 people to get it on, left screw came off within 1 week, now it’s unusable.

daco328
Like another review mentioned, I also pulled out the light and the cable ripped. Not sure what I can do about that. Have not even rode it yet. After watching the video it appears there is several inches of slack in the braded cables. This does not appear to be the care with the turris. I also have exposed wires and not enough slack. Also, the rack will not fit with the fender. Again, the video appears there is plenty of room for clearance.

Sara
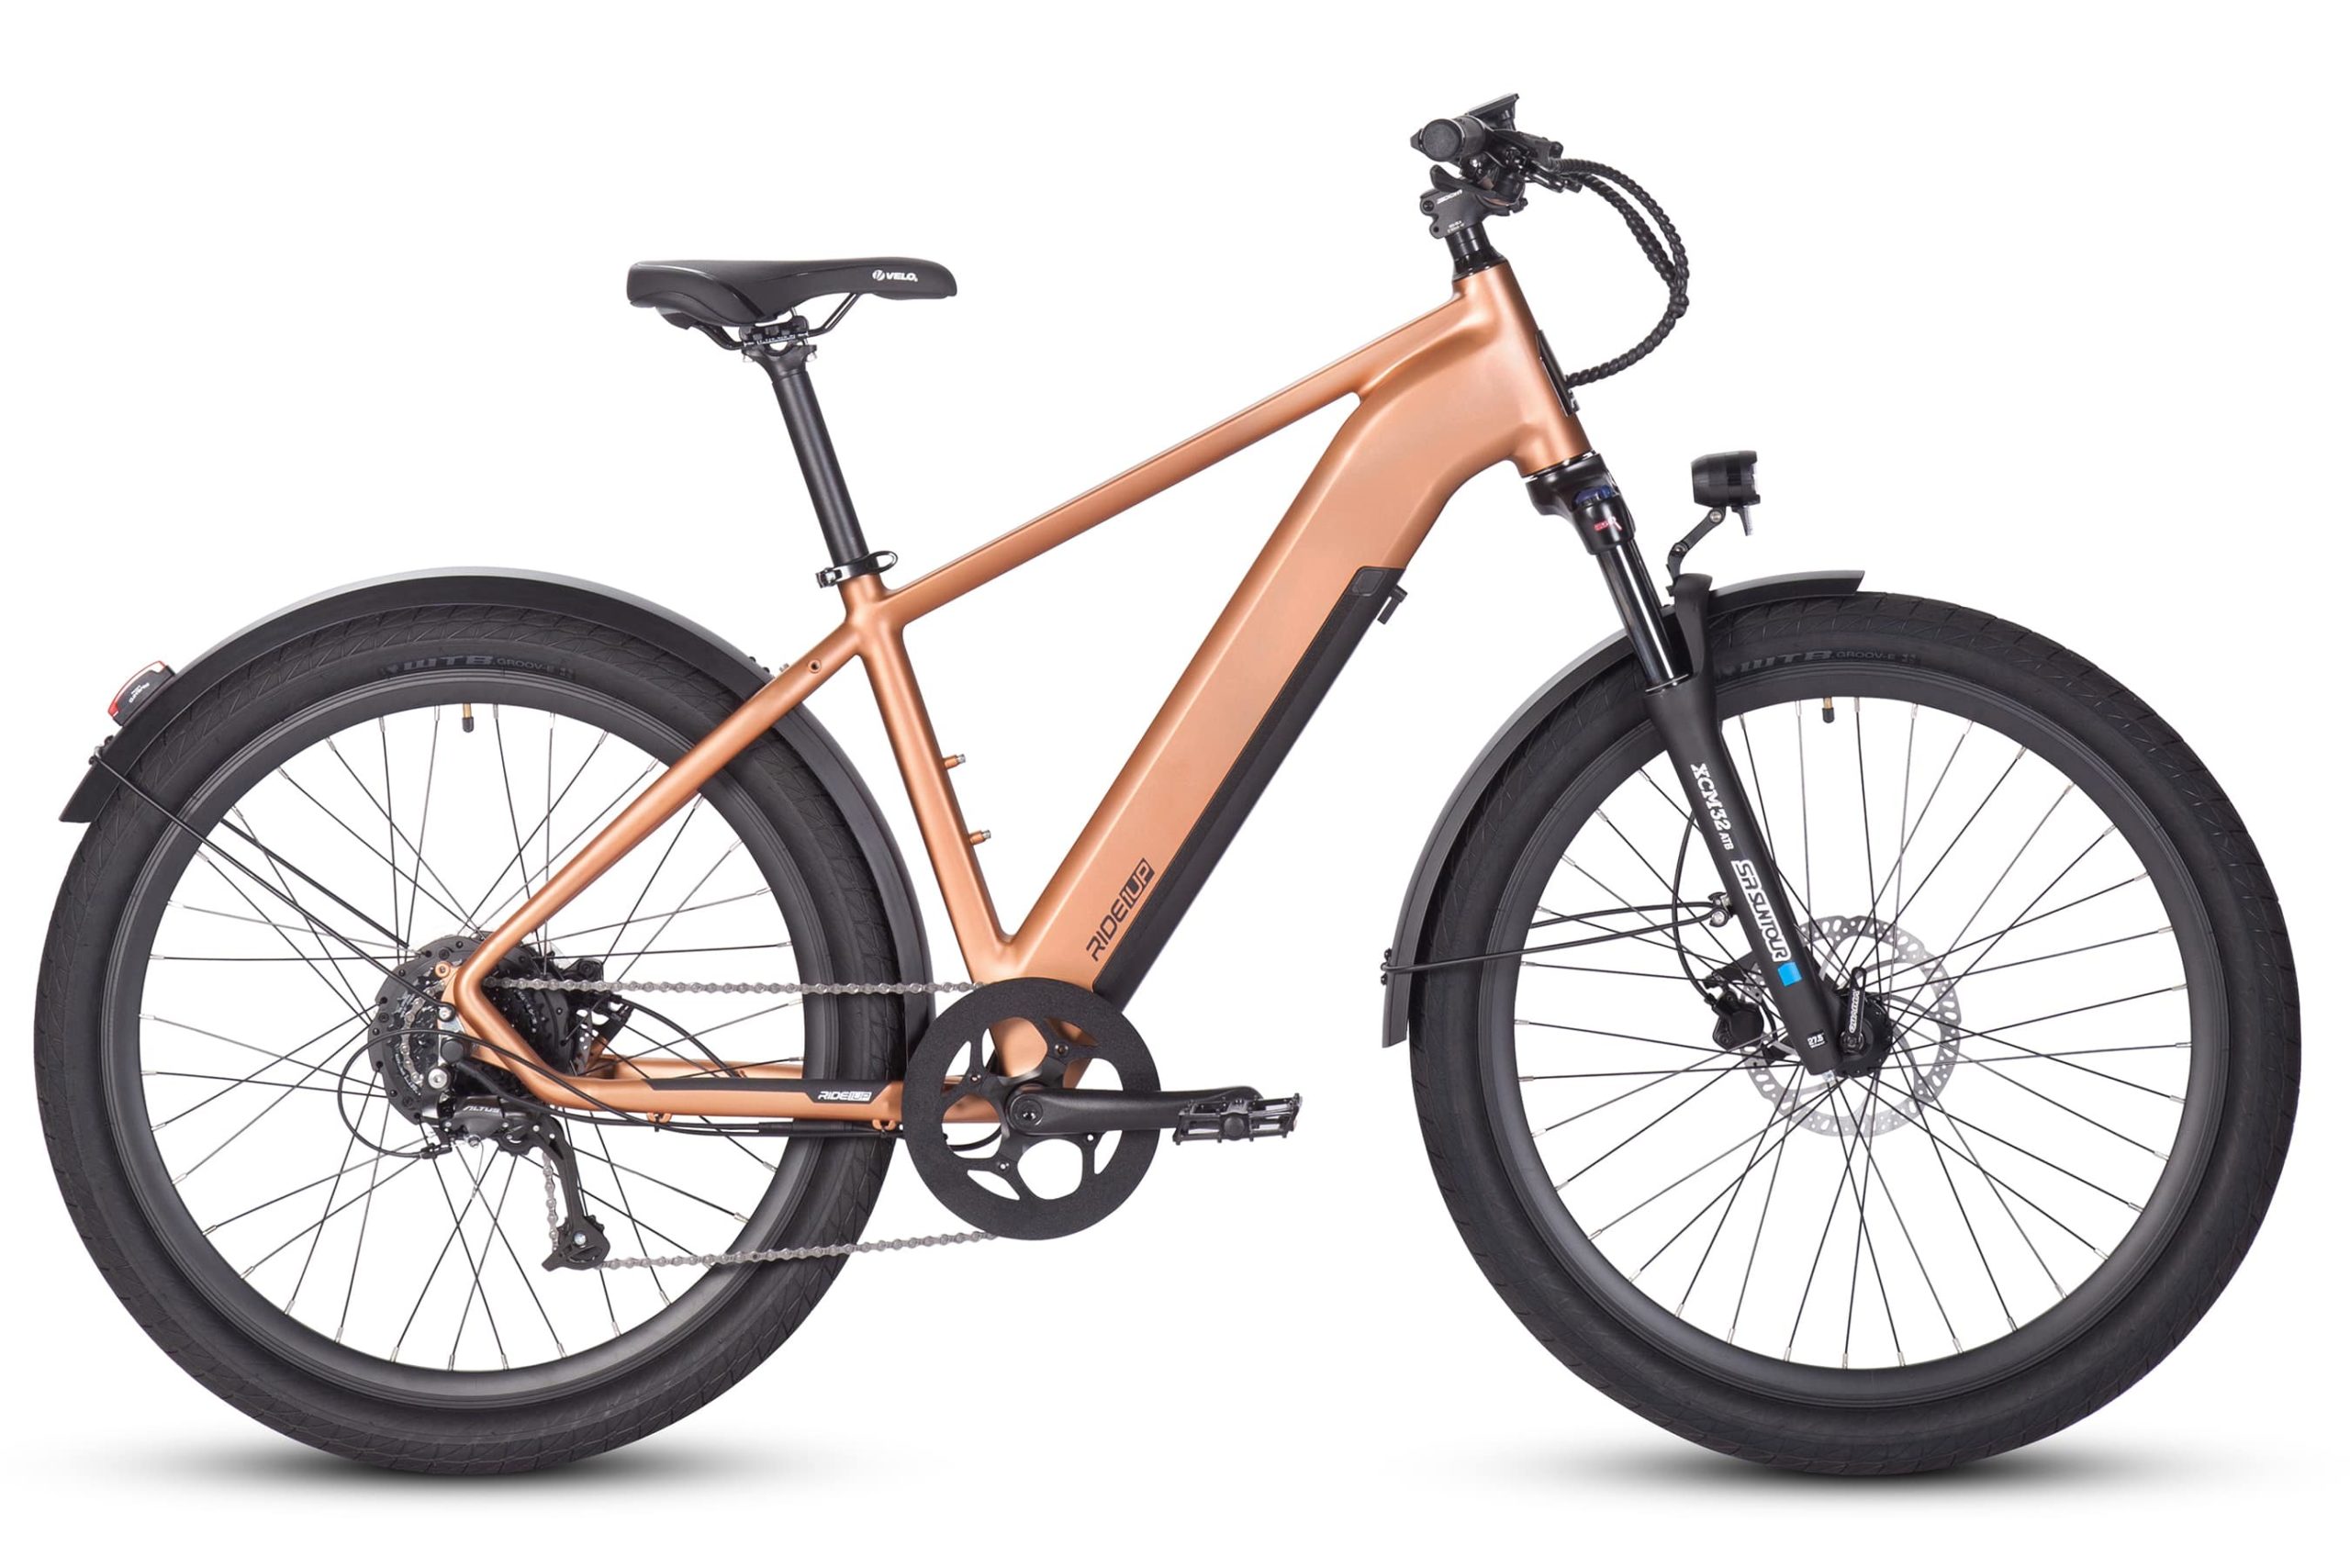
After waiting 2 weeks for the rack and basket combo, I struggled significantly to put the rack on my Core 5. Despite the front rack listing 2 other models (Roadster and Rev 1) as not compatible- I learned later through a separate support article that the front rack is ALSO not compatible with the Core 5 model. Would have greatly appreciated having this information listed on the front rack purchasing page with the other incompatible models. Had the rack been able to be installed, I'm sure it would have functioned fine (thus my 2 stars instead of 1). However, now I have a partially assembled rack, a basket with no purpose, and damage to my headlight. The headlight specifically was written as needing to "pull out" the wires to reach the front of the rack, and upon unraveling the coating and pulling gently on the wire, my headlight ripped right out leaving exposed wires. Now my bike and I will have a separation until I can figure out how to safely rewire it since my commute to and from work as a nurse is typically in the dark at least one way.

Sara
After waiting 2 weeks for the rack and basket combo, I struggled significantly to put the rack on my Core 5. Despite the front rack listing 2 other models (Roadster and Rev 1) as not compatible- I learned later through a separate support article that the front rack is ALSO not compatible with the Core 5 model. Would have greatly appreciated having this information listed on the front rack purchasing page with the other incompatible models. Had the rack been able to be installed, I'm sure it would have functioned fine (thus my 2 stars instead of 1). However, now I have a partially assembled rack, a basket with no purpose, and damage to my headlight. The headlight specifically was written as needing to "pull out" the wires to reach the front of the rack, and upon unraveling the coating and pulling gently on the wire, my headlight ripped right out leaving exposed wires. Now my bike and I will have a separation until I can figure out how to safely rewire it since my commute to and from work as a nurse is typically in the dark at least one way.
Don Maggetti
Very nice rack and easy to install. Got the quick release basket to go with it. Love it.
Don Maggetti
Very nice rack and easy to install. Got the quick release basket to go with it. Love it.

Suzanne Gleed
Love the rack and front basket. Our puppy loved it as well❤️?

Douglas J Hirsch
The front rack came with no instructions, but it seemed simple enough to figure out. A quick Google Search suggested a YouTube video titled “How to install Ride1Up Basket + Platform.” The first minute showed what I needed to know. The only trouble I had was extending the wiring for the headlamp. The video shows extra wire wrapped up in the front wiring harness – just enough to allow the light’s new placement at the front of the rack. That was not the case for my 700XR. I ended up splicing in a foot of wire so my headlight could reach the front of the rack. I used solder and heat-shrink for the extension. The installed front rack provides a platform measuring roughly 12 inches by 5 inches. With racks over both wheels now, my bike looks balanced. In addition, I can better distribute the weight of my gear on my next long ride. I have tried a few items. The rack can hold a sleeping bag, tent, or cooler – the possibilities are exciting. Overall, I am extremely satisfied with the front rack. My 700 looks better and is more functional with the front rack than without it. What do I like best? I like how the front rack moves the headlight forward. The new light placement eliminates the long shadow cast by my front tire. This was an unexpected improvement. At night, all I see now is the road. (Maybe R1U could call it the “Headlight Extension Kit + Platform.”)
Sorry, no reviews match your current selections


Great rack.
Heads up!! If the rack loosens during a ride it could hit the front causing you to go over the handlebars. Very dangerous. It happened to me. Not sure what caused the rack to drop. Lucky I was going slow at the time.
Mounting issues. So, the lower leg brackets that attach to the fork have a circle band that’s supposed to wraparound the suspension fork and bold to the rack legs. These circular bands are basically too small and the wrong circumference. I had to bend them significantly to get them to fit, then it was difficult to get the bolt to fasten, since the bands were then so springy. The rack also secures with a long bolt that goes from the back of the rack to the suspension fork. The hole in the fork is not deep enough to hold the fender bolt mount and rack mount together safely. I ended up removing the front fender so that the rack mount could be screwed in there securely and safely. I wish I hadn’t purchased this rack, seriously. Purchase a handlebar bag or basket and/or put panniers on the back rack. The e-bike itself was easier to put together than this rack. I’m probably just going to remove the rack and get a handlebar basket myself. If you chose a handlebar bag/basket you’d be able to actually use the suspension fork too, and not always have the fork in the lock position as well. I hope this review helps you make an informed decision.
The rack fit on the turris with some slight modifications. I had to extend the wire for the light.
Rack is great, mounting hardware not so much. And the basket is also good but again the hardware is wretched. I realize the front forks move up and down but there should be a way for Ride1Up to weld a set of threaded bungs for the down-stays to attach to versus the clamps provided with the rack. And the basket screws are just terrible, small SS screws that tend to cross-thread in holes on the crossbars and are difficult to get started. Moreover, they have a flanged head but the crossbars don’t have recesses for the heads, so the heads stick up and look amaturish. Come on fellas, can’t you come up with better hardware that is easier to install?
Avec les commentaires que je lis, je n’ose pas installer le rack.